Posts Tagged AOA
Bottom Inboard Skin Prep (1/17/11)
Posted by Ethan Jacoby in Construction, Main Structure, Wings on January 17, 2011
3.5 Hours –
Today, I finished prepping the bottom inboard skins for both wings.
I picked-up where I left off on the left skin and finished dimpling. Once this was done, I scuffed, cleaned and primed the inside surface of the skin.
As the primer dried on the left skin, I returned to my ongoing task of pulling wiring conduit through the right wing. I don’t know what it was, but for some reason I was able to pull the conduit much faster today. After 15 minutes, I had the conduit completely pulled through the 4 ribs of the wing walk area. Once the wing walk area was done, the rest of the wing was easy.
After the primer was dry on the left bottom inboard skin, I temporarily mounted it to the wing with a few clecoes (mainly to get it out-of-the-way). Then, I turned my attention to the same skin for the right wing and started the whole process over…deburr, dimple, scuff, clean, prime.
Once primer was on the right skin, I turned my attention to the pitot/AOA tube. The pitot/AOA tube is the only other thing that I need to install inside the wing before buttoning it up. It could be installed after the skins are riveted, but it is easier now. The first decision to make is where to install it. If I follow the instruction from Safeair, it will be installed on the outboard side of the first rib outboard of the bellcrank. Since the bellcrank and the tie-down ring are at the same position, some RVers have found this location to be problematic as tie-down ropes may interfere with the pitot tube (the stubby wings of an RV often cause tie-down ropes to point towards the cockpit instead of away). To prevent this interference, some builders have moved the pitot tube inboard of the bellcrank. I need to do some research to see how far inboard people have moved it. From what I can tell, screw for the fuel tank will interfere with more inboard mounting unless I modify the pitot mast somewhat. In the meantime, I went ahead and installed all of the snap bushings in the wing ribs for the pitot and AOA lines.
Pitot-Static System
Posted by Ethan Jacoby in Preparation, Wings on May 14, 2010
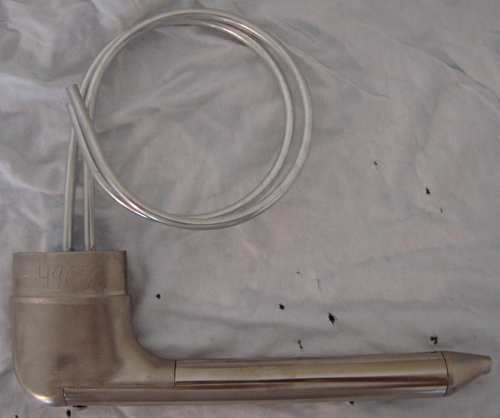
As I wait for my wing kit to arrive, I’ve been purchasing items that will be needed to complete the wings. My most recent purchase is a Dynon pitot/AOA probe to complete my pitot-static system.
For the non-aviation geeks, the pitot-static system is a two part system that is used to measure airspeed and altitude. The system itself is very simple, consisting of ports on the outside of the plane which are connected to tubing. The tubing then runs to various instruments. The instruments translate changes in air pressure to useful information.
The pitot tube, mounted under the wing in this case, is used to measure airspeed. The static ports, consisting of two ports on the aft fuselage, are used to measure altitude and help correct the airspeed. Both the pitot and static ports allow outside air to enter the tubing they are attached to. The static ports are out of the slipstream and allow static air to enter. The pitot tube points forward. Air is forced into the tube as a result of the airplanes forward motion. The faster you go, the higher the pressure will be in the pitot system. The tubing for the pitot-static system is routed to various instruments which measure the pressure in the system and convert that to useful information such as airspeed and altitude. It may sound complicated, but it is actually a very simple system.
Van’s supplies aluminum tubing in the kit. This tubing is used to make all the pitot-static lines and the pitot tube. The static ports supplied in the kit are nothing more than a couple pop-rivet heads with tubing glued on to the back. While this works perfectly well, I decided to go another route. I’m using the Safeair1 pitot-static and AOA tubing kits, the Safeair1 pitot mast, the Safeair1 static ports, and a Dynon pitot/AOA tube.
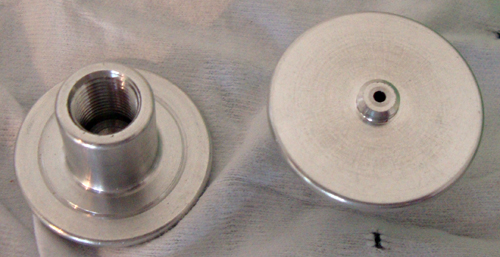
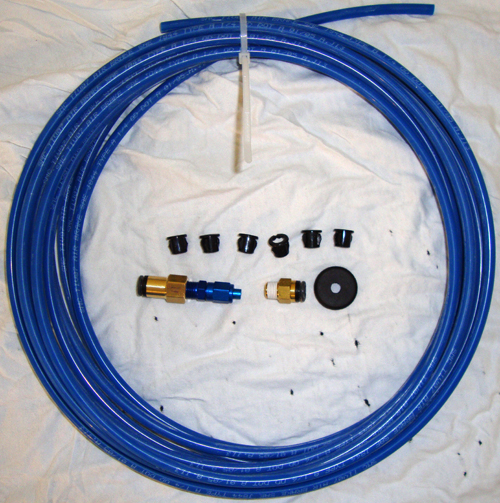
The Safeair1 pitot, static, and AOA tubing is plastic tubing and push-on connectors. I feel this will be much easier to install than aluminum tubing and produce fewer leaks that have to be tracked down and fixed. The Safeair1 static ports are billet aluminum that has been milled to duplicate the shape of the Van’s pop-rivet port. They won’t work any better than the Van’s method, but they just look nicer.
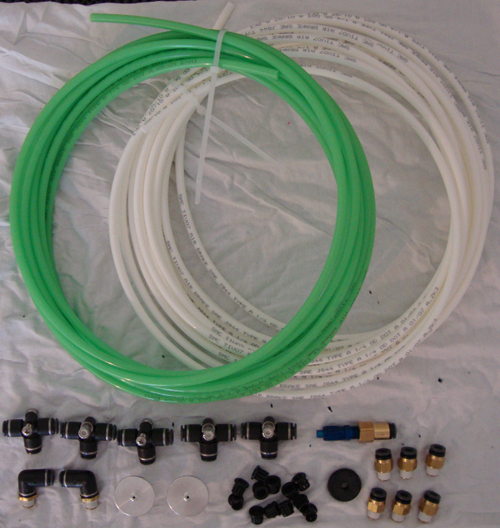
The Safeair1 pitot-static tubing kit contains everything needed for an RV pitot-static system except for the pitot tube.
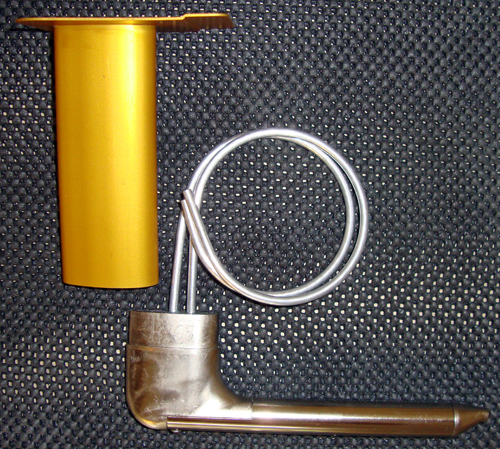
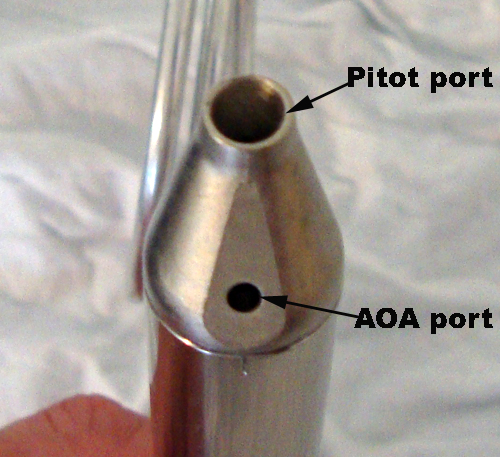
The only reason I’m using the Safeair1 pitot mast is because it is specifically made for use in an RV with the Dynon pitot/AOA tube. This alone should make it simple to install. The Dynon pitot/AOA is basically two tubes wrapped up in a very nice package. The upper port is the pitot port, while the lower port is the AOA. The AOA (or Angle of Attack) uses differential pressure between the two ports to measure the wing’s angle of attack (wing chord vs. relative wind). Simply put, it is a type of stall warning. However, AOA can also be used as a tool for landing. Navy pilots fly AOA, not airspeed, when they land on carriers.


