Posts Tagged Safeair1
More Bottom Skin Work (2/13/11)
Posted by Ethan Jacoby in Construction, Main Structure, Wings on February 13, 2011
2.8 Hours –
It’s been two weeks since I last worked on the plane. A couple of factors caused this. The main factor being that we are buying a house, and doing paperwork for the mortgage has taken up a lot of my free time. The good news is that we are buying the house we are currently renting, so I won’t have to deal with moving the RV project! The second, smaller factor contributing to my lack of airplane work has been the cold weather. I grew up in Nebraska, so the cold shouldn’t bother me. However, after a few years in Texas, I’ve become a cold weather wimp. The blizzard of 2011 that shut down San Antonio yielded a whole 1/4″ of snow. Yep, that’s all it takes to shut everything down in Texas! At least the temperature is back in the 70s this week.
I started doing a little work on the plane in the morning. I still had about half the right inboard bottom skin to rivet. After about a half-hour of working on this, my parents showed up and we went to lunch.
After lunch, my Mom went shopping and left my Dad to help on the plane. I went back to work riveting the inboard bottom skin, and I had my Dad start working on the bottom right outboard skin. This skin needed to have the vinyl removed and the holes deburred. I figured that would keep him busy for a while!

Since it is time to put the outboard skins on the wing bottoms, I modified the wing cradle by removing some 2x4s that were holding the skins upright. Now the wing tips fit in the cradle and are out of the way.
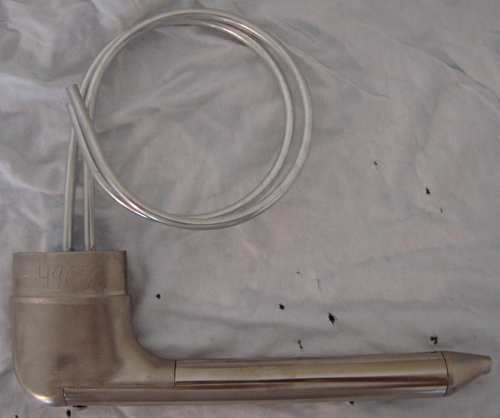
I finished riveting the bottom right inboard skin, and started working on the cutout for the pitot mast on the left wing. The cutout is on the left bottom outboard skin, and I decided to place the pitot on the outboard side of the rib just outboard the bellcrank. The Safeair mast comes with descent instructions and a template for the cutout. Unfortunately, the instructions and template are for a RV-6 and need a little modification to work on the 7. However, it basically boils down to deciding where the mast will be placed, cutting the hole, and then modifying the mast slightly to make it fit against the rib and spar.
Once I decided where to place the mast, I taped the template to the wing skin and traced the cutout onto the skin. Next came the hard part…working up the courage to cut a big hole in the skin! I used a step drill to make the initial holes. Then I used my Dremel with a cutoff wheel to rough cut the hole. After that, it was a process of filing and test fitting the mast until the hole was finally the proper size.

I finished the rough cut of the pitot mast hole with my dremel. Obviously, the hole still needs some finishing touches to smooth the edge.

After enlarging and smoothing the hole a bit, the pitot mast finally fit. The flange still needs some modification though.
While the mast fit the hole ok, one side of the mast’s flange was hitting the rib and the spar side of the flange was too long, overlapping a row of rivets holding the leading edge to the spar. To fix this, I filed down the rib side of the flange, and I’ll have to trim the spar side using my band saw. Nothing too complicated. Once I have the skin off the wing to finish prepping the rivet holes, I’ll also file the mast’s hole a bit more to give it a smoother finish.
Pitot-Static System
Posted by Ethan Jacoby in Preparation, Wings on May 14, 2010
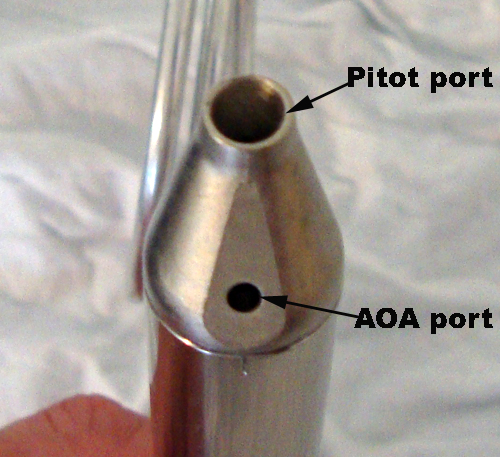
As I wait for my wing kit to arrive, I’ve been purchasing items that will be needed to complete the wings. My most recent purchase is a Dynon pitot/AOA probe to complete my pitot-static system.
For the non-aviation geeks, the pitot-static system is a two part system that is used to measure airspeed and altitude. The system itself is very simple, consisting of ports on the outside of the plane which are connected to tubing. The tubing then runs to various instruments. The instruments translate changes in air pressure to useful information.
The pitot tube, mounted under the wing in this case, is used to measure airspeed. The static ports, consisting of two ports on the aft fuselage, are used to measure altitude and help correct the airspeed. Both the pitot and static ports allow outside air to enter the tubing they are attached to. The static ports are out of the slipstream and allow static air to enter. The pitot tube points forward. Air is forced into the tube as a result of the airplanes forward motion. The faster you go, the higher the pressure will be in the pitot system. The tubing for the pitot-static system is routed to various instruments which measure the pressure in the system and convert that to useful information such as airspeed and altitude. It may sound complicated, but it is actually a very simple system.
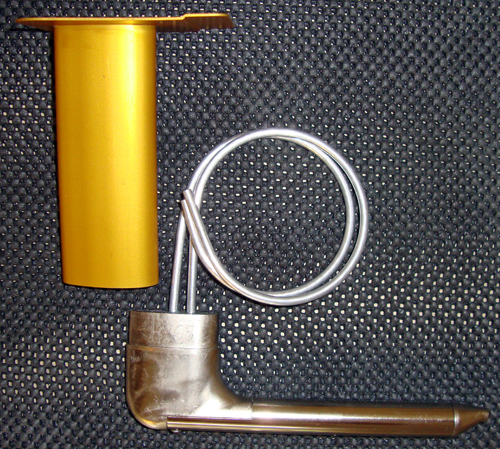
Van’s supplies aluminum tubing in the kit. This tubing is used to make all the pitot-static lines and the pitot tube. The static ports supplied in the kit are nothing more than a couple pop-rivet heads with tubing glued on to the back. While this works perfectly well, I decided to go another route. I’m using the Safeair1 pitot-static and AOA tubing kits, the Safeair1 pitot mast, the Safeair1 static ports, and a Dynon pitot/AOA tube.
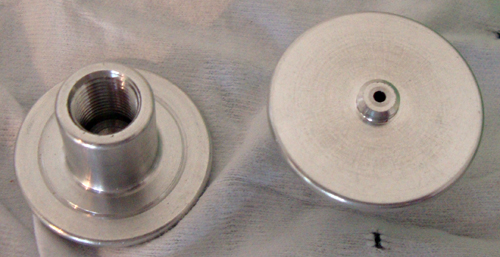
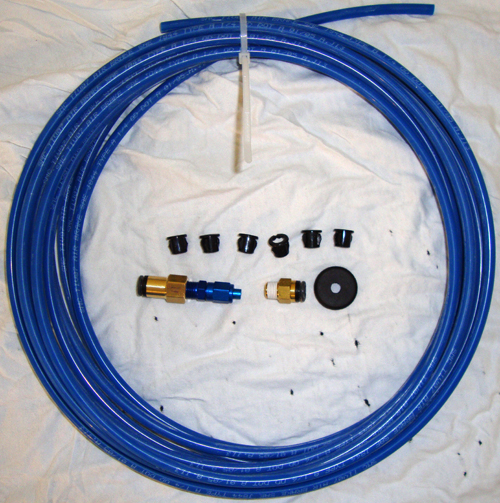
The Safeair1 pitot, static, and AOA tubing is plastic tubing and push-on connectors. I feel this will be much easier to install than aluminum tubing and produce fewer leaks that have to be tracked down and fixed. The Safeair1 static ports are billet aluminum that has been milled to duplicate the shape of the Van’s pop-rivet port. They won’t work any better than the Van’s method, but they just look nicer.
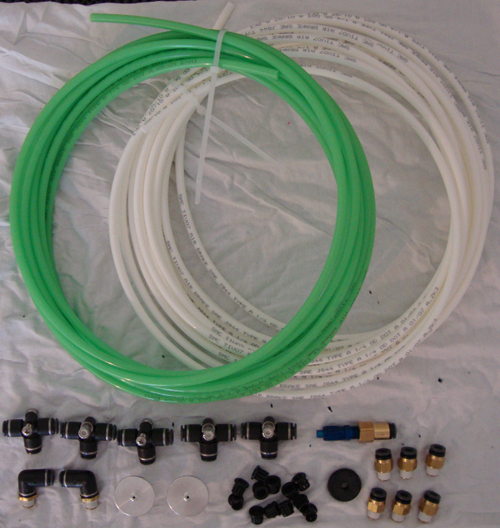
The Safeair1 pitot-static tubing kit contains everything needed for an RV pitot-static system except for the pitot tube.
The only reason I’m using the Safeair1 pitot mast is because it is specifically made for use in an RV with the Dynon pitot/AOA tube. This alone should make it simple to install. The Dynon pitot/AOA is basically two tubes wrapped up in a very nice package. The upper port is the pitot port, while the lower port is the AOA. The AOA (or Angle of Attack) uses differential pressure between the two ports to measure the wing’s angle of attack (wing chord vs. relative wind). Simply put, it is a type of stall warning. However, AOA can also be used as a tool for landing. Navy pilots fly AOA, not airspeed, when they land on carriers.


